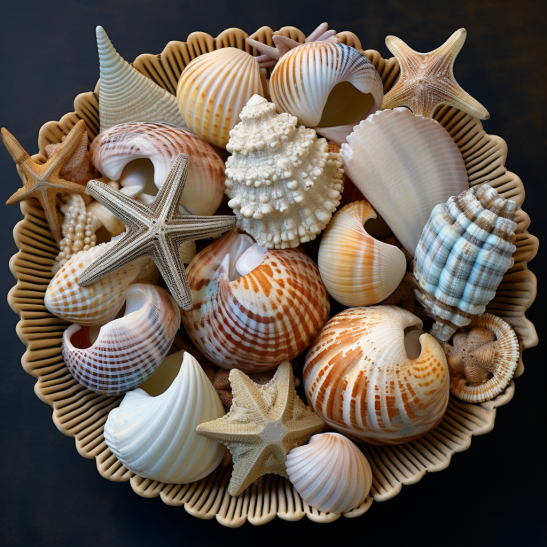
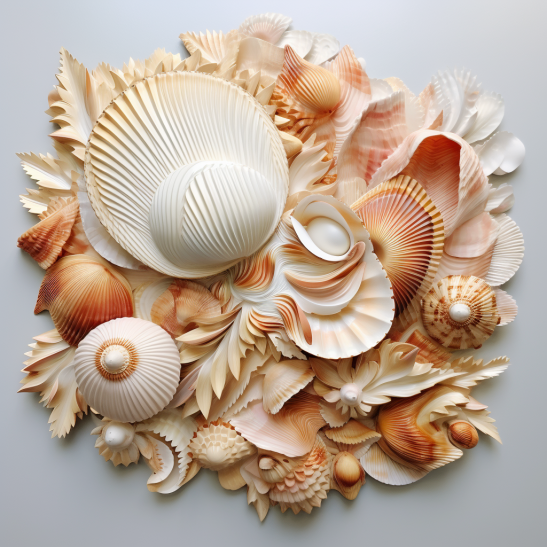
Shell mosaics are a captivating form of art that allows you to transform ordinary shells into breathtaking, intricate designs. Whether you’re a seasoned artist or a beginner looking to explore the world of shell mosaics, this step-by-step guide will help you get started on your creative journey.
Materials You’ll Need:
Before diving into the artistic process, gather the following materials:
- Shells: Collect a variety of shells in different shapes, sizes, and colors. The choice of shells is crucial as it will determine the overall look of your mosaic.
- Backing Material: Choose a suitable backing material for your mosaic. Common options include wooden panels, picture frames, or even stepping stones for outdoor mosaics.
- Adhesive: You’ll need a strong adhesive to attach the shells to the backing material. Epoxy resin or waterproof tile adhesive is often used for shell mosaics.
- Grout: Grout is used to fill the spaces between the shells, giving your mosaic a polished and cohesive look. Opt for a color that complements your design.
- Safety Gear: Ensure you have safety gear, including gloves and protective eyewear, especially when working with adhesives and grout.
Steps to Create Your Shell Mosaic:
- Design Your Mosaic: Plan the design of your mosaic on paper or sketch it directly on the backing material. Consider the color palette and arrangement of shells to achieve your desired look.
- Prepare Shells: Clean and sort your shells by size and color. Remove any debris or algae from the shells to ensure they adhere well.
- Apply Adhesive: Use a brush or a trowel to apply adhesive to the area where you’ll be placing the shells. Work in small sections to prevent the adhesive from drying too quickly.
- Arrange Shells: Carefully place the shells onto the adhesive in your chosen pattern. Press each shell firmly into the adhesive to ensure a strong bond.
- Allow to Dry: Let the adhesive dry according to the manufacturer’s instructions. This may take several hours or overnight, depending on the type of adhesive used.
- Apply Grout: Once the adhesive is completely dry, prepare the grout according to the instructions on the packaging. Spread the grout evenly over the shells, making sure it fills the gaps between them.
- Remove Excess Grout: After applying the grout, use a damp sponge or cloth to wipe away excess grout from the surface of the shells. Rinse and wring out the sponge regularly as you work.
- Final Cleaning: Once the grout has partially set, use a soft cloth to buff any remaining grout residue from the shells’ surfaces. Be gentle to avoid scratching the shells.
- Seal Your Mosaic: To protect your shell mosaic and enhance its appearance, consider applying a sealant or clear epoxy resin. Follow the manufacturer’s instructions for this step.
- Display Your Artwork: Allow your mosaic to dry and cure fully before displaying it in your preferred location, whether it’s indoors as a wall hanging or outdoors as a garden decoration.
Creating shell mosaics is a rewarding and meditative art form that allows you to celebrate the beauty of shells while expressing your creativity. Experiment with different shell combinations, patterns, and designs to craft unique and visually stunning mosaics that showcase the natural elegance of these treasures from the sea.


