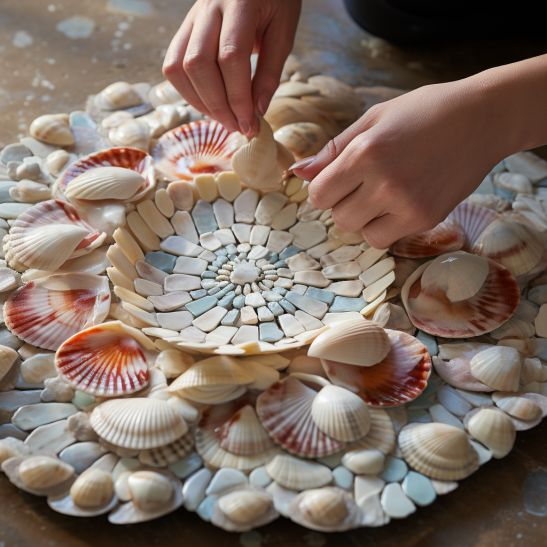
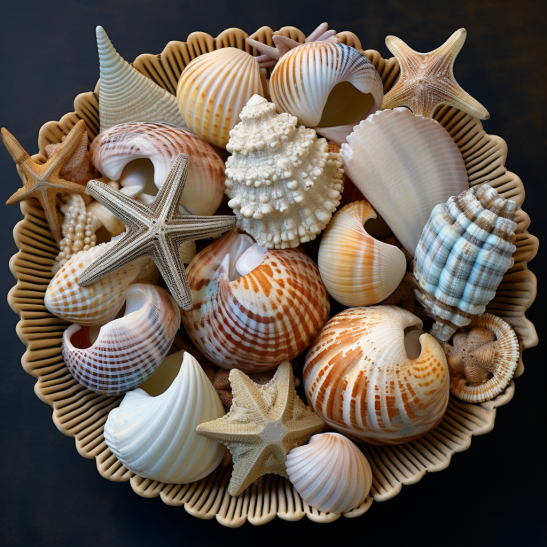
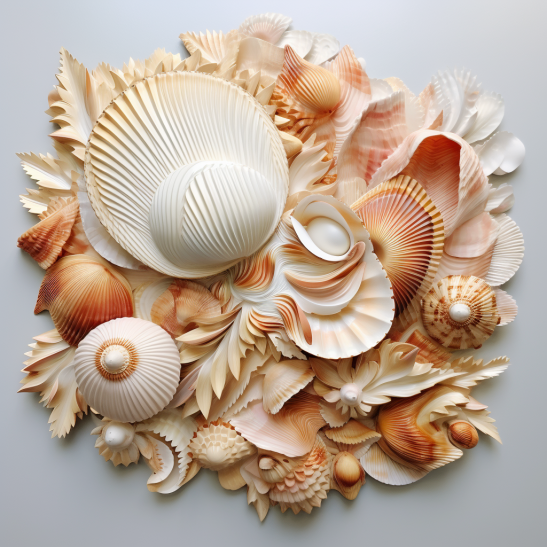
The world of art with seashells goes beyond mosaics; it also encompasses the fascinating realm of shell sculptures. If you’re eager to explore a more three-dimensional approach to working with shells, this guide will introduce you to the art of crafting intricate and beautiful shell sculptures.
Materials You’ll Need:
Before diving into the art of shell sculptures, gather the following materials:
- Shells: Collect a diverse array of shells, both in size and type, to give you flexibility in your sculpting.
- Armature: An armature is the internal structure that provides support for your sculpture. Common materials include wire, wood, or even foam.
- Adhesive: You’ll need a strong adhesive to bond the shells to the armature. Epoxy resin or waterproof tile adhesive is often used.
- Tools: Invest in various tools such as pliers, wire cutters, and sculpting tools to manipulate the shells and create intricate details.
- Safety Gear: Always wear safety gear, including gloves and protective eyewear, when working with adhesives and tools.
Steps to Create Your Shell Sculpture:
- Design Your Sculpture: Begin by sketching your sculpture’s design or having a clear mental image of what you want to create. Consider the arrangement of shells and the overall form.
- Prepare Shells: Clean and prepare your shells by removing any debris, algae, or organic matter. Make sure they are dry before starting.
- Create the Armature: If you’re using wire, shape it into the desired form of your sculpture. For more complex shapes, consider using multiple layers of wire.
- Attach Shells: Apply adhesive to the armature and carefully place the shells onto it, adhering to your design. Be patient and methodical, ensuring a strong bond between the shells and the armature.
- Build Layers: Depending on your design, you may need to create layers of shells to achieve depth and texture. Allow each layer to dry before adding the next.
- Add Details: Use your sculpting tools to add intricate details to the shells or to manipulate them into different shapes. This is where your creativity can truly shine.
- Allow to Dry: Let the adhesive dry thoroughly, which may take several hours or even overnight, depending on the adhesive used.
- Seal Your Sculpture: To protect your shell sculpture and enhance its appearance, consider applying a sealant or clear epoxy resin. Follow the manufacturer’s instructions.
- Display Your Artwork: Once your shell sculpture is fully dry and cured, proudly display it in your chosen location, whether it’s in your home, garden, or as part of an art exhibition.
Shell sculptures offer an exciting and unique way to celebrate the beauty of seashells. Each sculpture is a testament to your artistic vision and craftsmanship. Whether you choose to create abstract forms, lifelike creatures, or intricate patterns, shell sculptures allow you to express your creativity in a truly captivating way.


